

Was someone invited? They want Onboarding: joining a
team instead, a shorter, different page. Running through this
one creates a new org, which lands their work in the wrong place.
Terminal track
Never opens a browser, except to approve sign-in. One command walks through everything: sign in, create the org, say where your work comes from, connect the folder.1
Sign in
Choose GitHub or Google:It remembers which one you picked next time.
2
Check this folder isn't already connected
Silent the first time. If the folder is already bound to another org, it asks
before switching it:
3
Create the org
Type a name:
4
Say where your work comes from
Pick a tracker to bring across, or start fresh:Picking a tracker asks for an API token (used once, never stored), the list or
team to pull, and then walks every source status: press Enter to accept the
suggested mapping, or a number to override. Confirm, and it imports with a
progress bar. If the migration carried people across, it then asks which one is
you.
5
Install retasc globally, or run it on demand
6
Connect the folder, and confirm
Nothing to type. It mints the key and wires the folder:
Web track
Never opens a terminal. Filesystem work still has to happen somewhere, a browser can’t write a config file to your machine, so the one step that needs it hands you a prompt to paste to your own agent, and the agent does it. You never see a raw command.1
Sign in
Go to dash.retasc.com and choose Continue with
GitHub or Continue with Google. It remembers which one you used.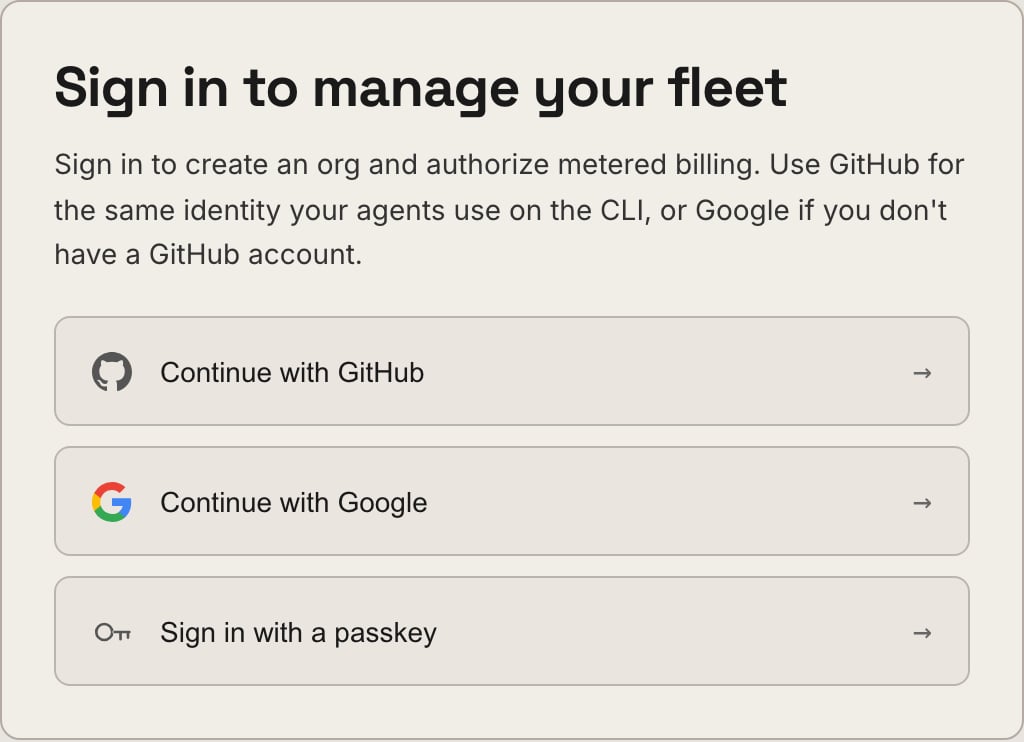
2
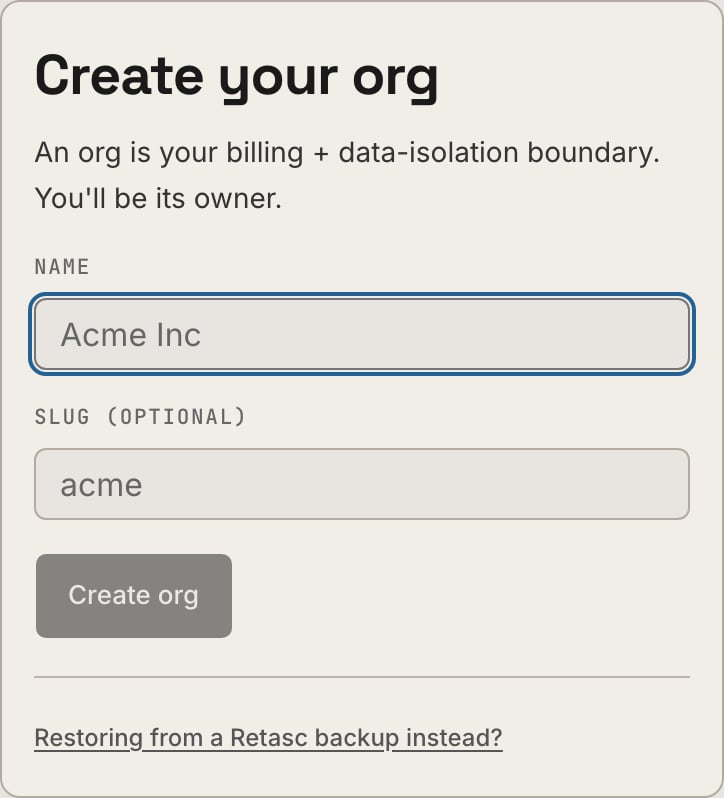
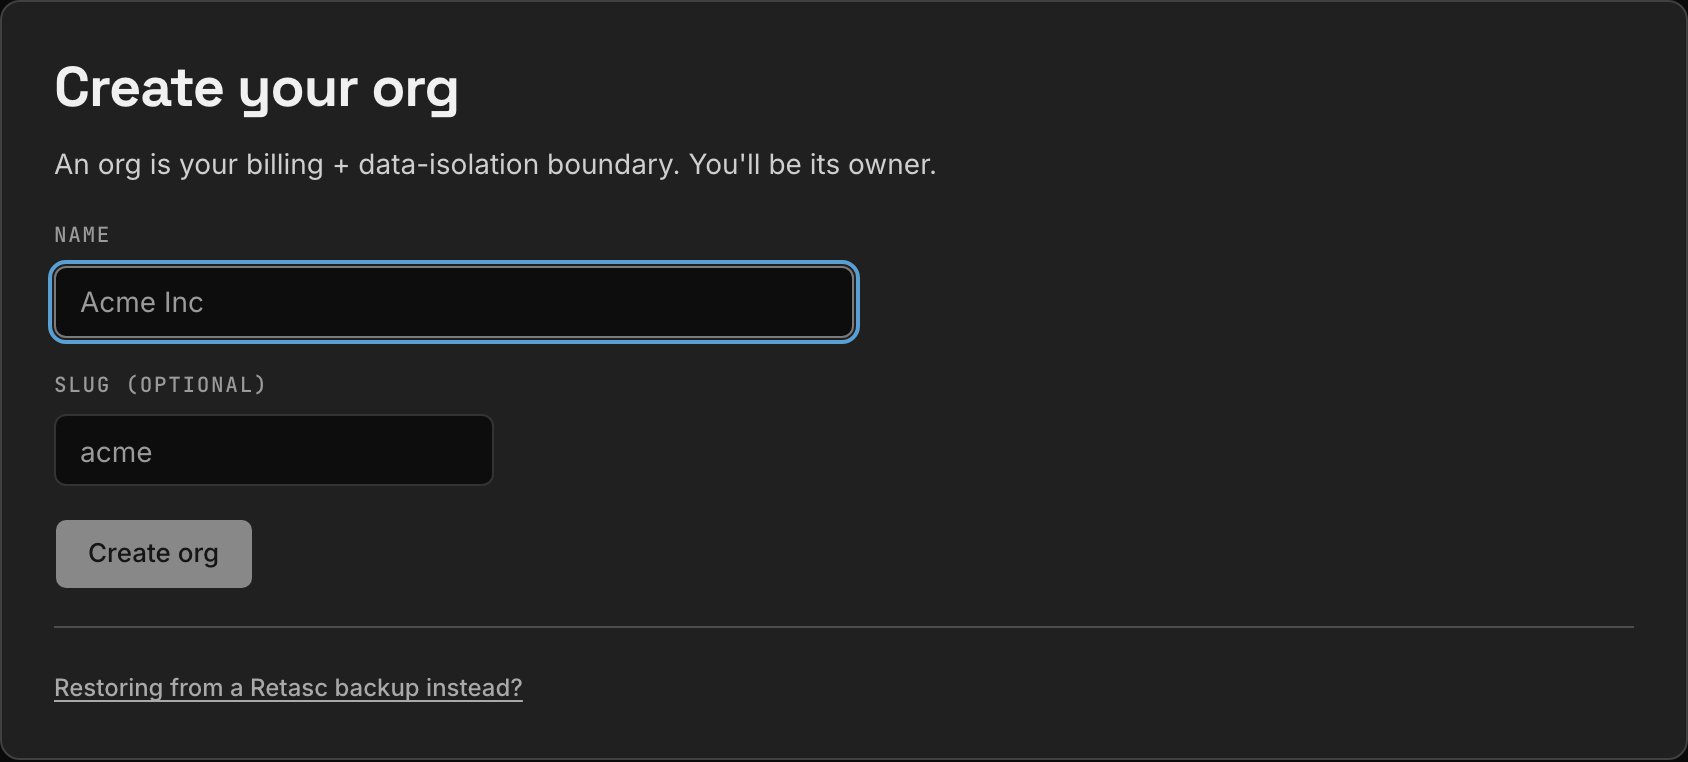
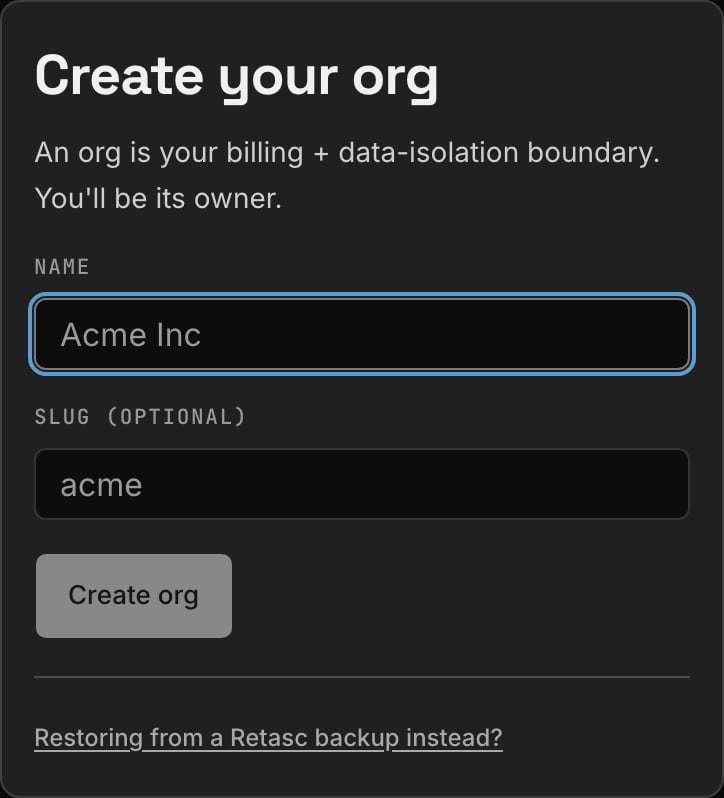
Create the org
Name your organization. You’re its owner.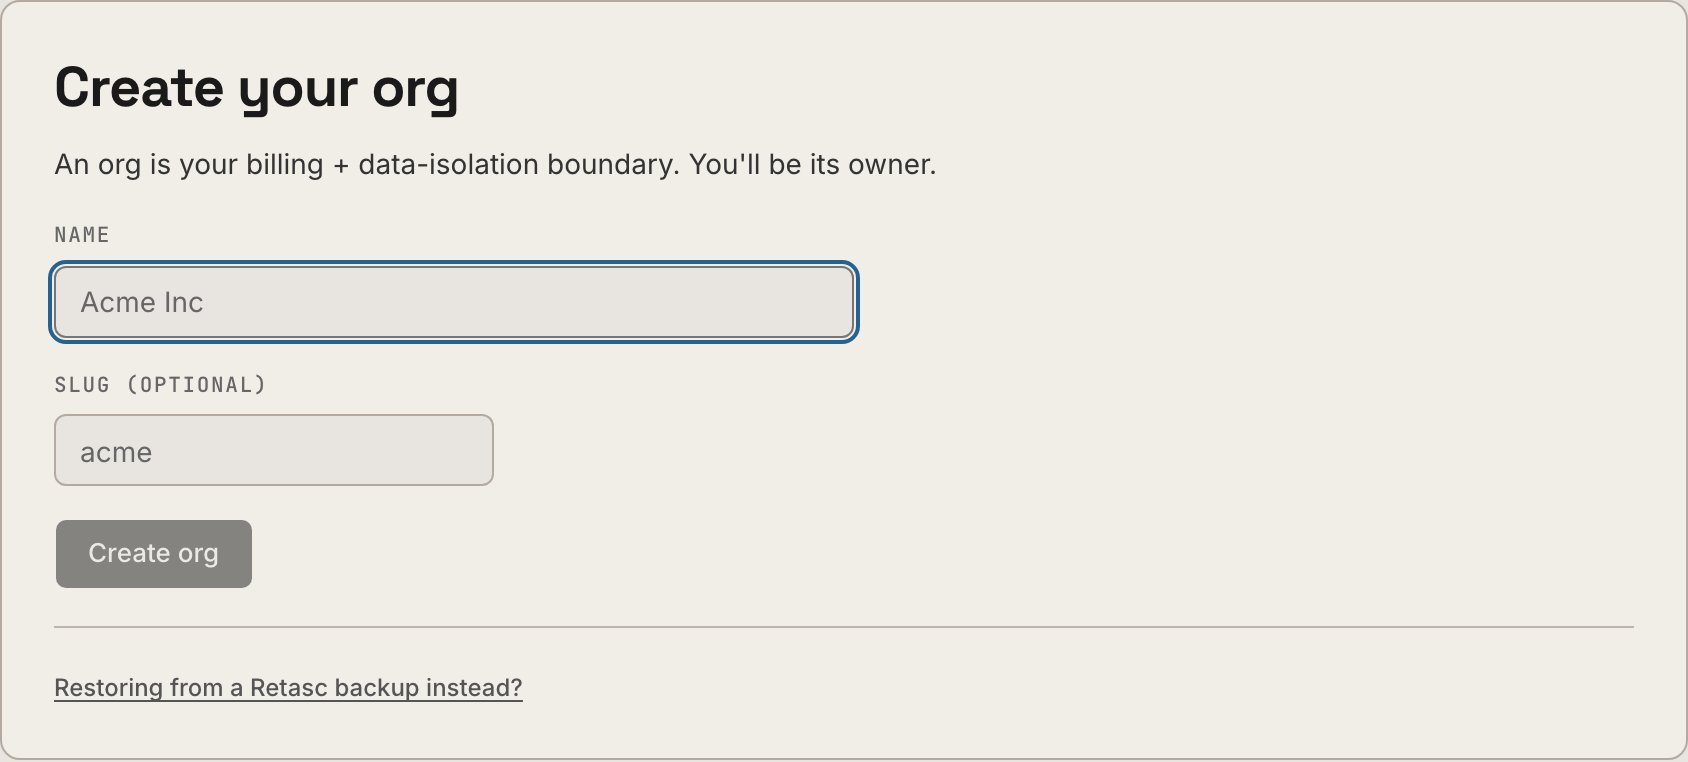
3
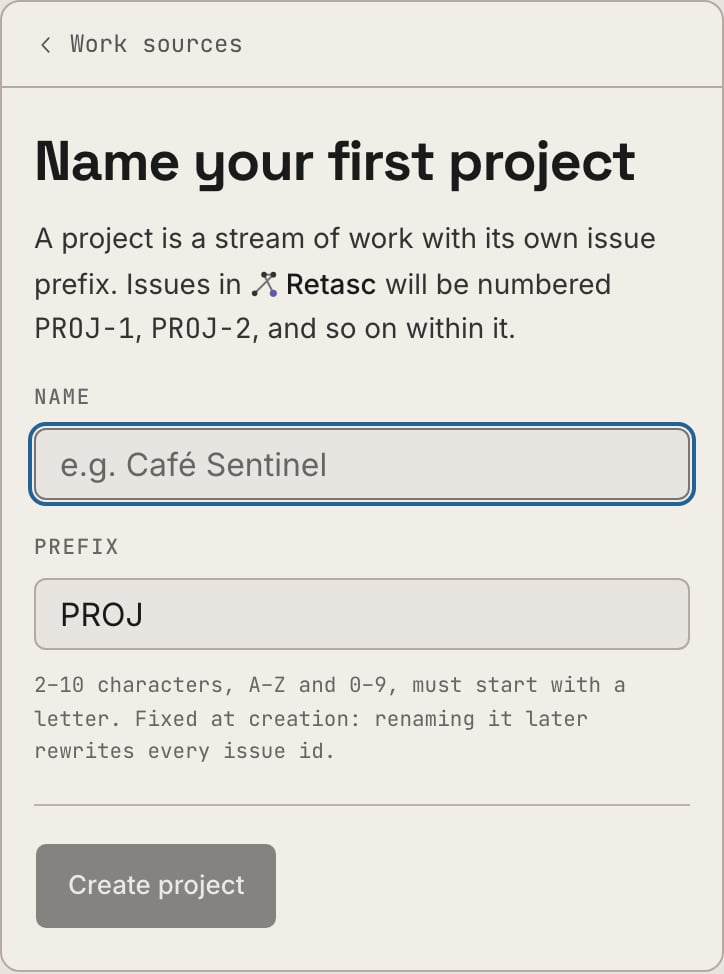
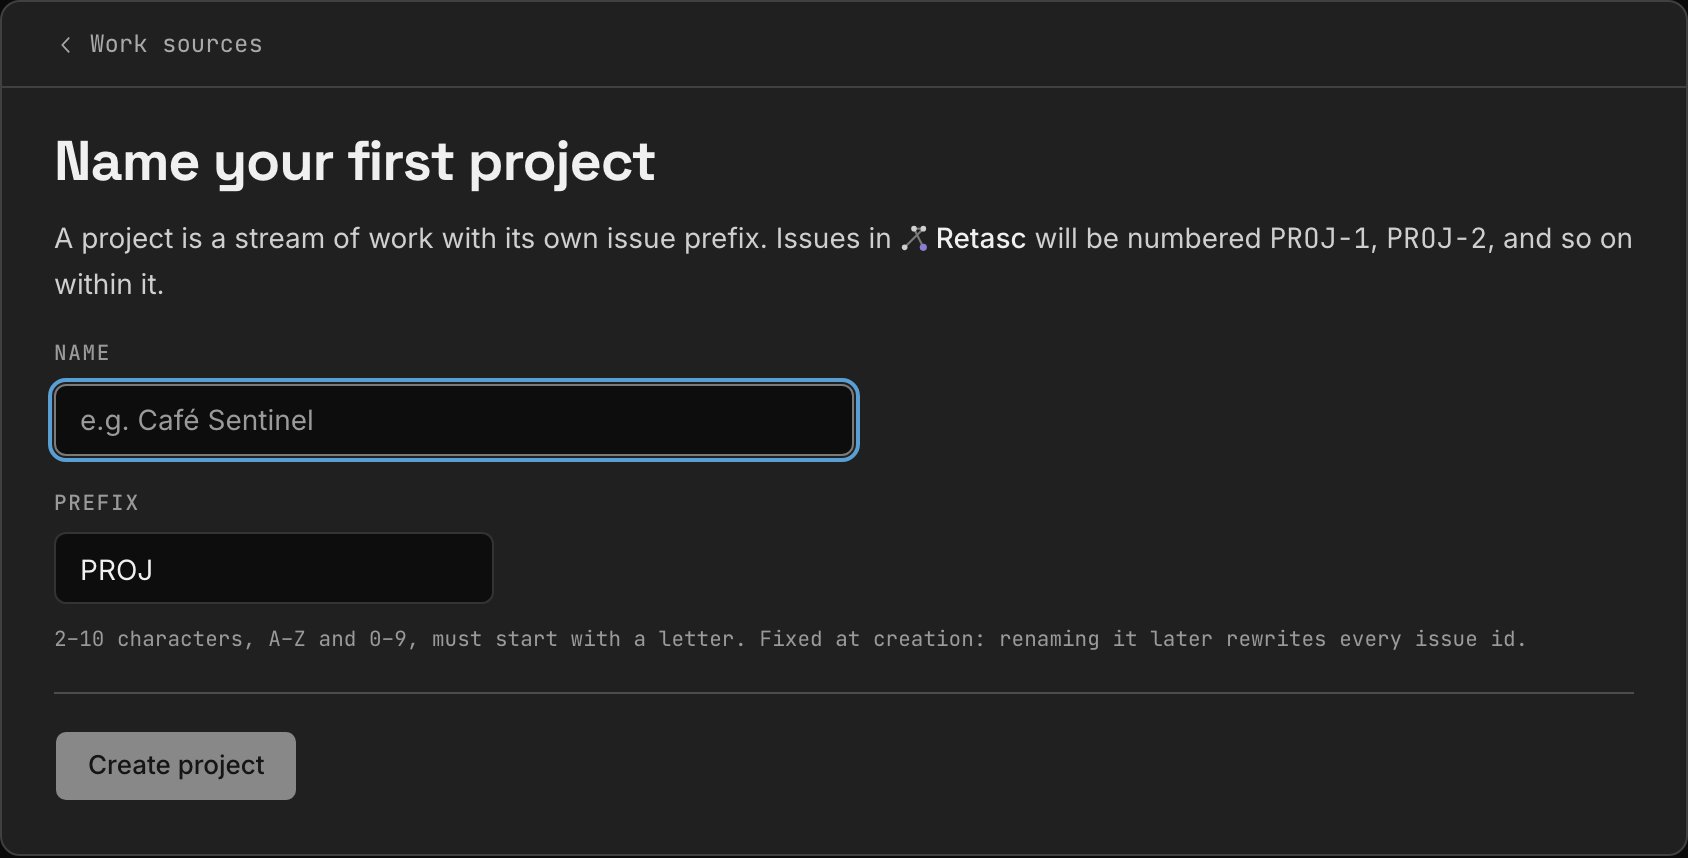
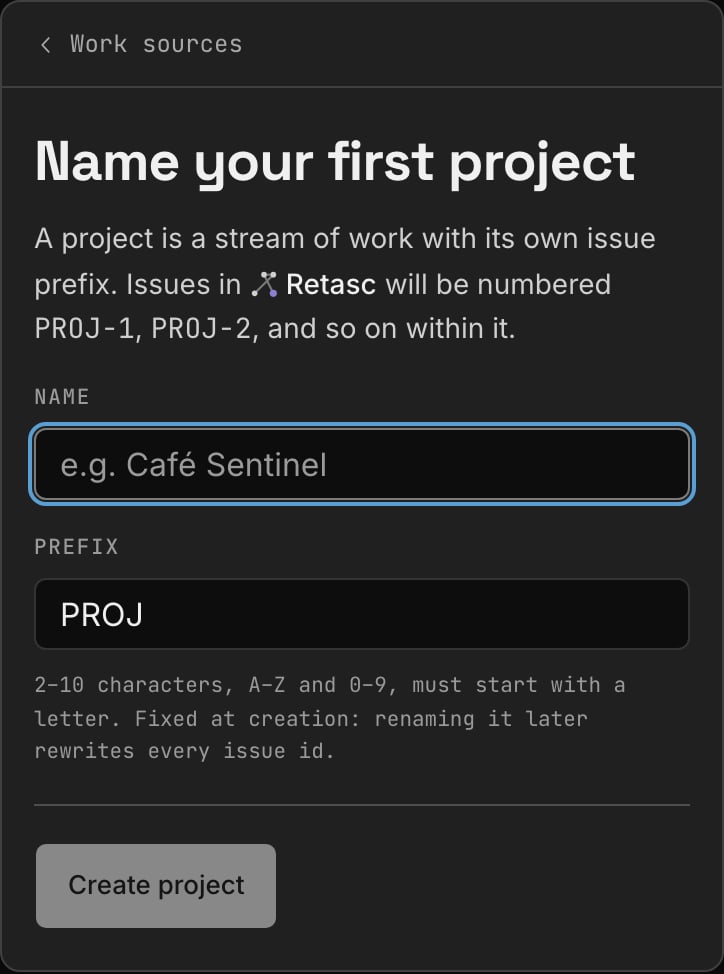
Pick your tracker, or start fresh
Bring Linear, Jira, ClickUp, Asana or Shortcut across, or create an empty
project.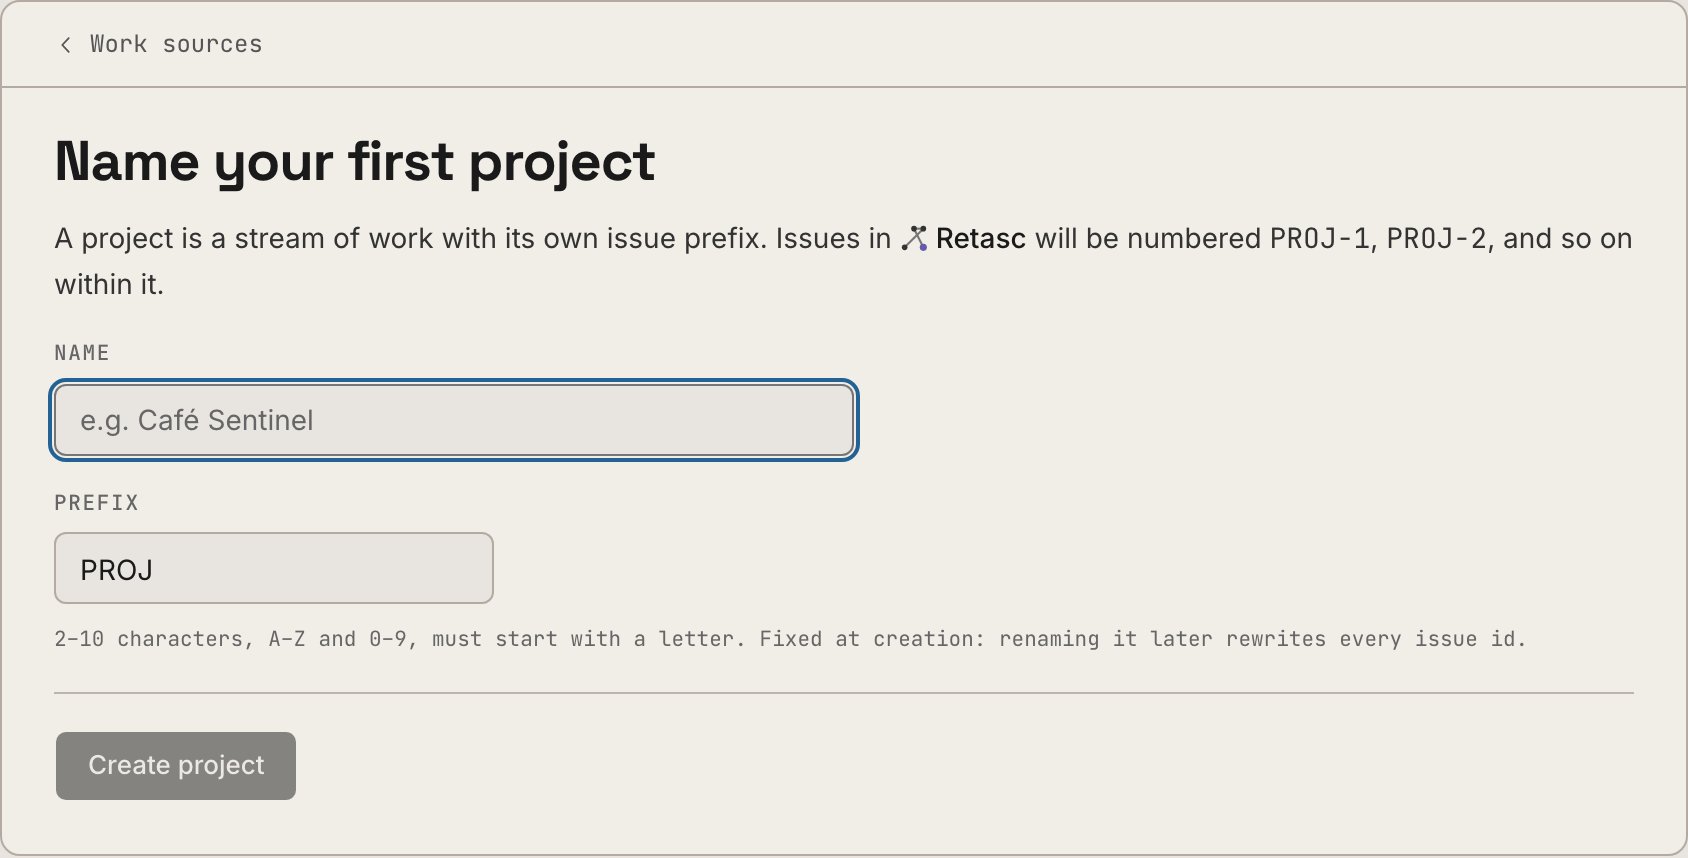
4
Map every source status by hand
Say what each column means, and who reviews the ones awaiting sign-off. Skipped
if you started fresh.
5
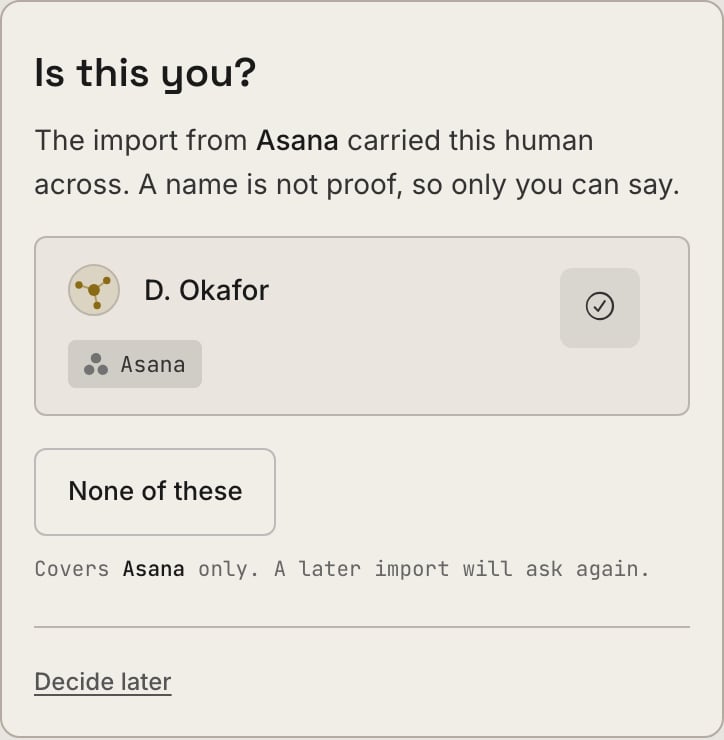
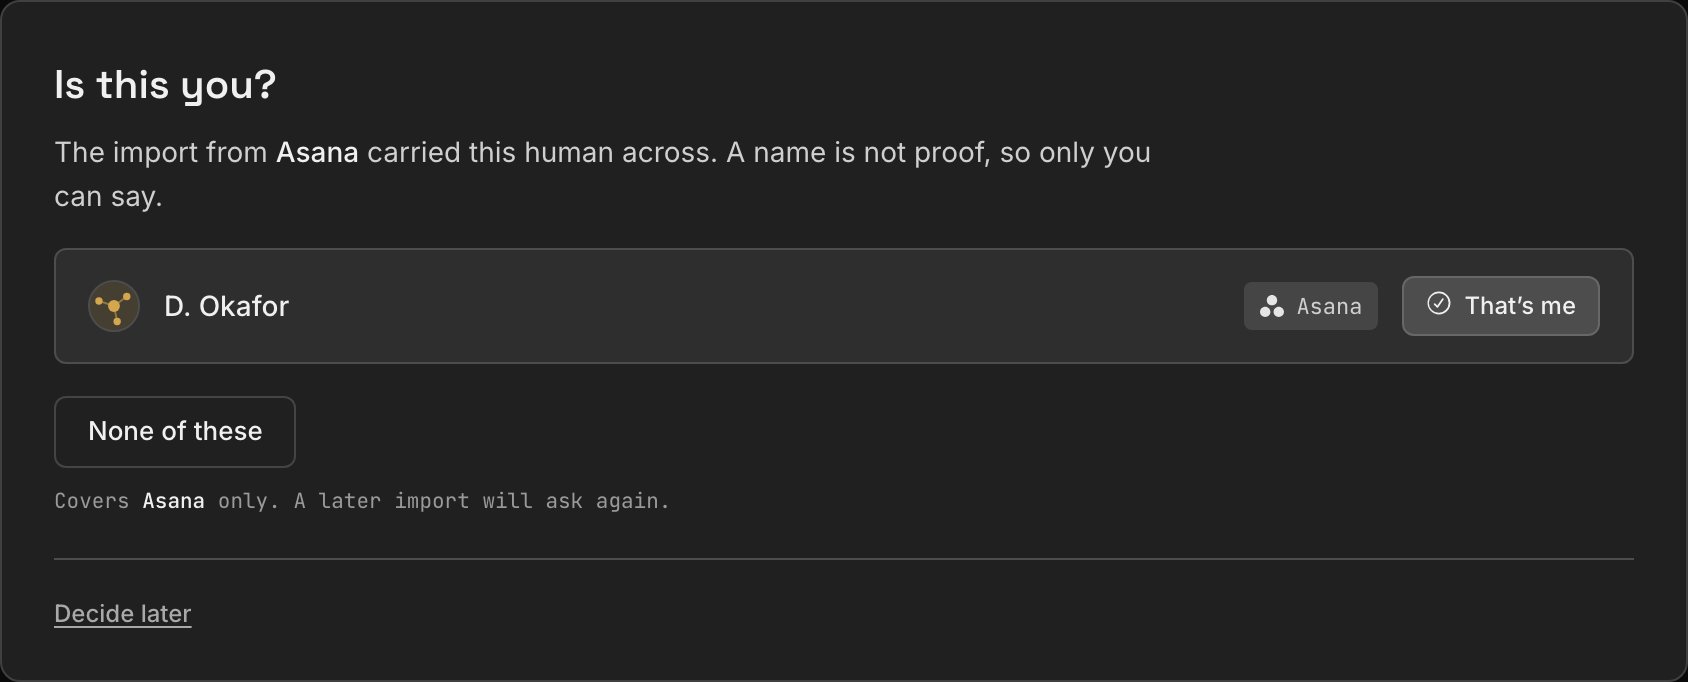
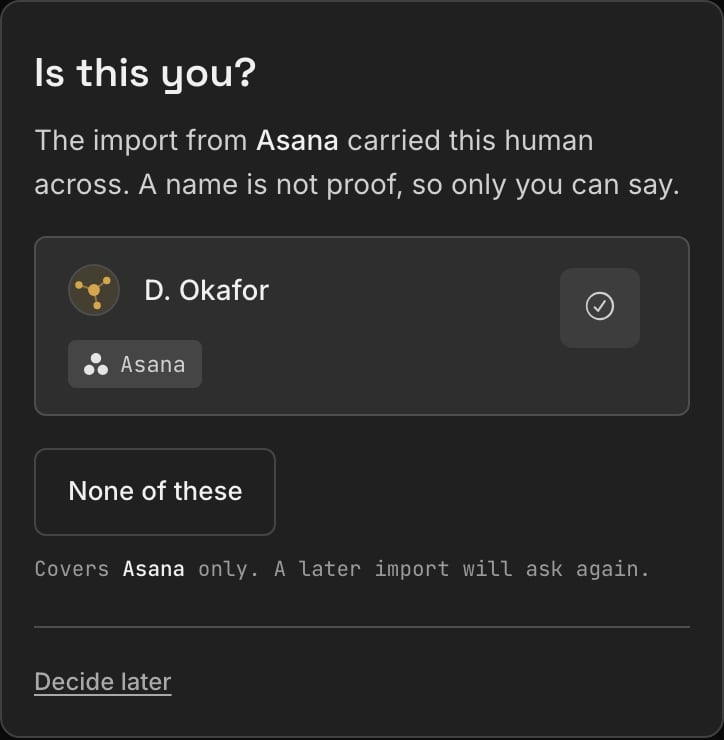
Claim your imported identity
If a migration carried your work across, say which name is you. Skipped if you
started fresh.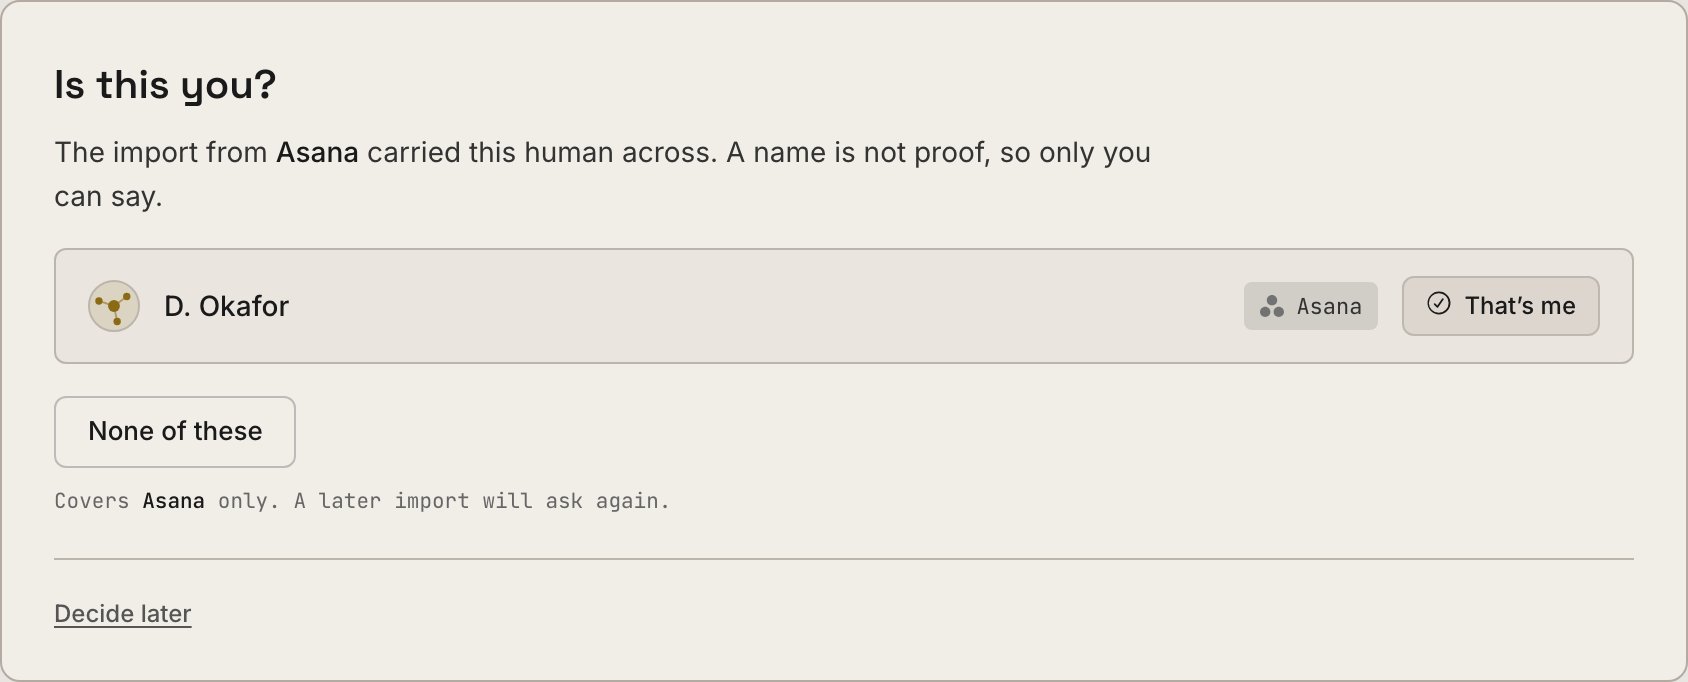
6
Connect your agent
The one non-click step, below.
Connect your agent, the one non-click step
Copy a block from the Dash and paste it to your agent, and it does the rest: reads its own folder path, runs the setup, restarts itself, and reports back.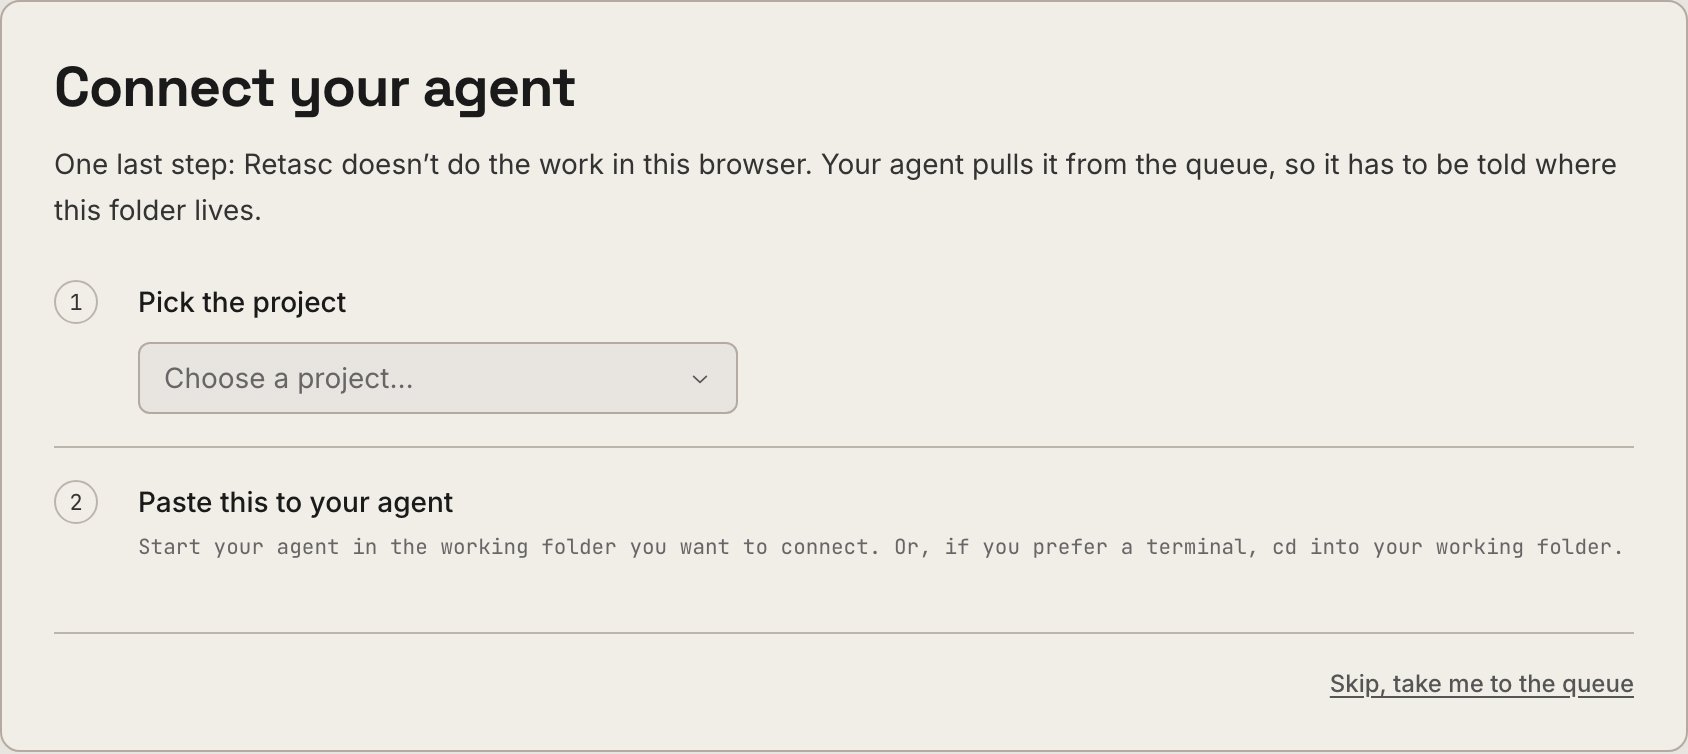
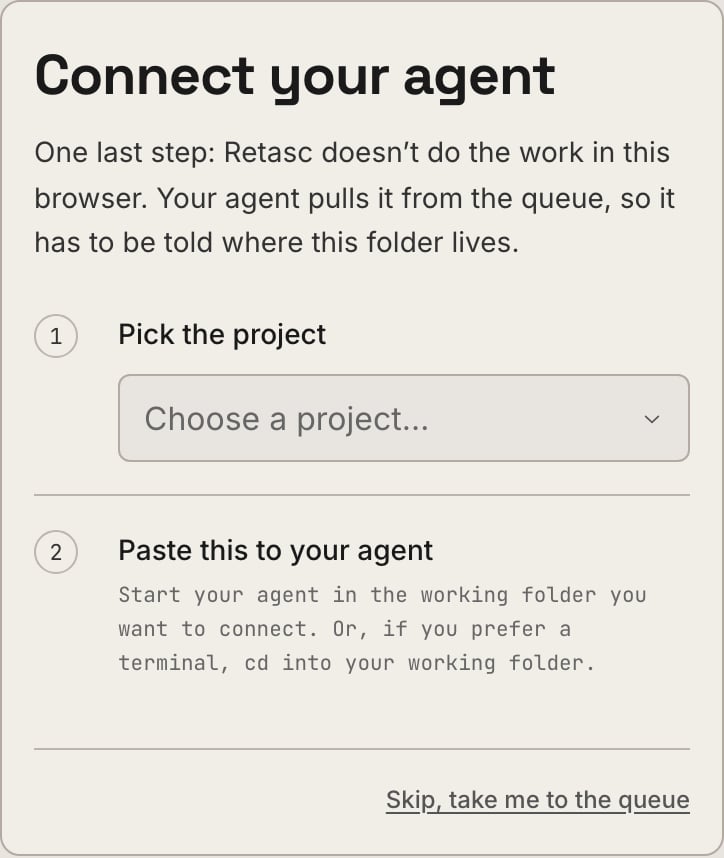
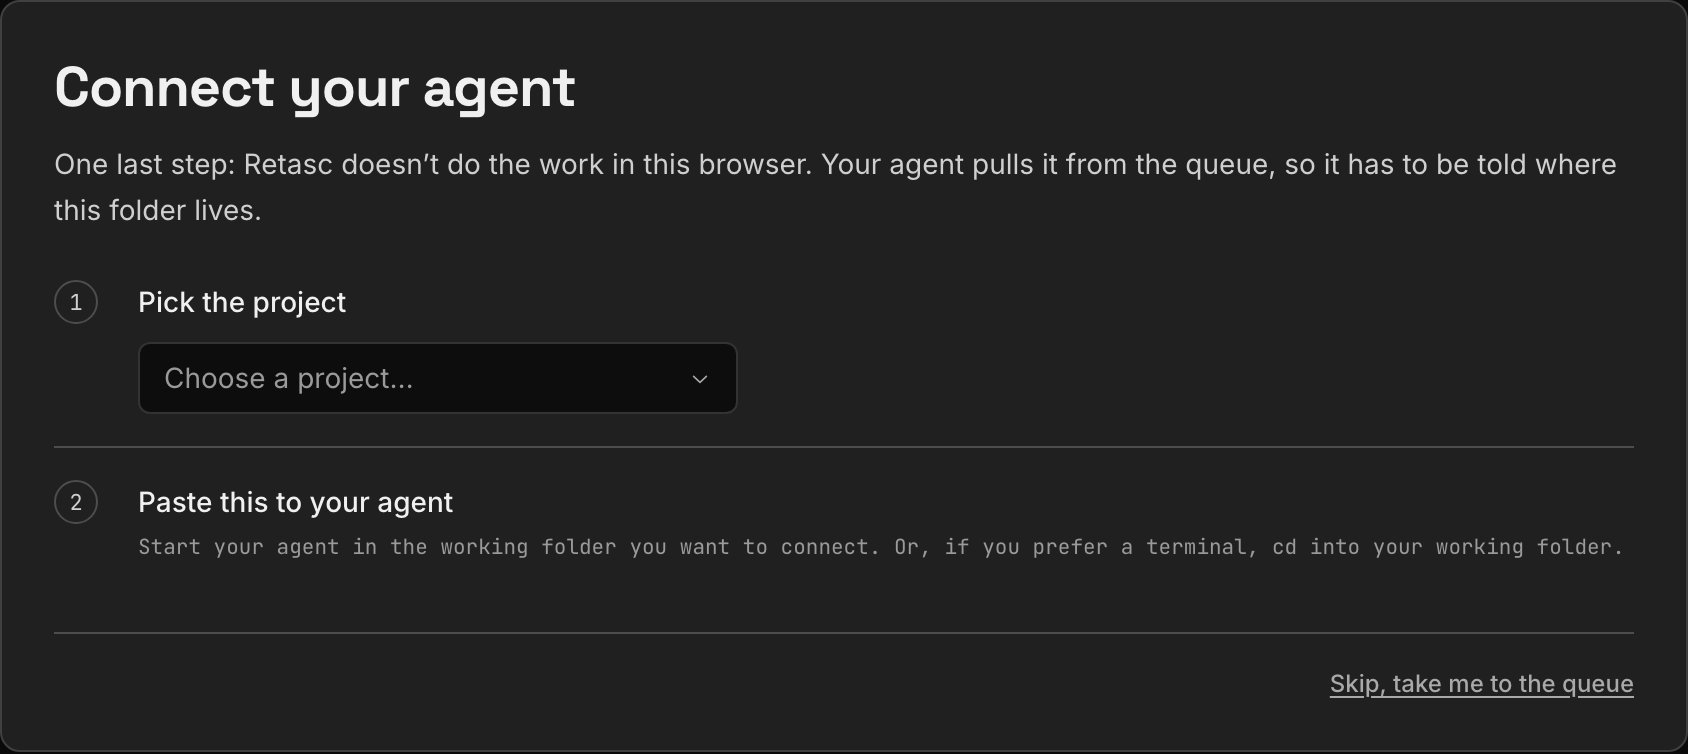
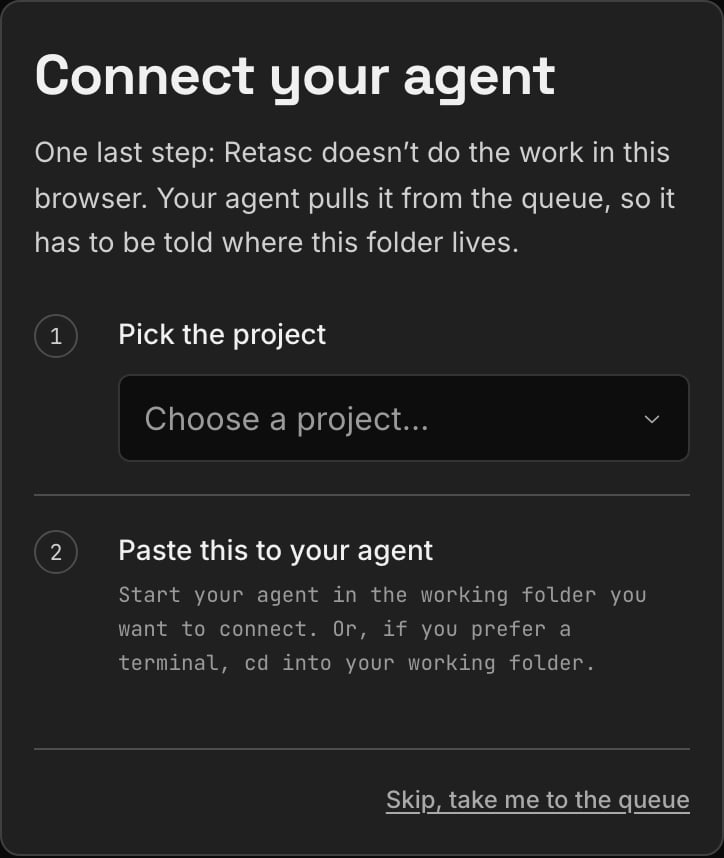
Why this, and not a raw command. The code dies in ten minutes and needs no
sign-in on the agent’s end, since the Dash session already proved who you are. The
agent states which folder it’s in before touching anything, so setting up the
wrong one is no longer invisible.
Inviting your team
Owners mint single-use codes. From the Dashboard, open Team → New invite, pick an expiry, and copy the code, it’s shown once. Or from the CLI:retasc members list --org-id <org-id> (status: pending,
accepted, revoked, expired) and retasc members revoke --invite-id <id>.
Everyone joins as member. If someone should run day-to-day ops without waiting on
you, an owner promotes them to admin from the Dashboard’s Team tab, Make
admin. That’s Dash-only; there’s no CLI command for it. See what admin can do.
Whoever redeems it wants Onboarding: joining a team, not this
page.
Next steps

Onboarding: joining a team
What your invited teammates see, and what they can do once they’re in.

Pricing & billing
What’s metered, the rate card, and what happens when credit runs out.